User access administration
Welcome to admin.chainbox.dk - your control panel for managing users and access.
Users
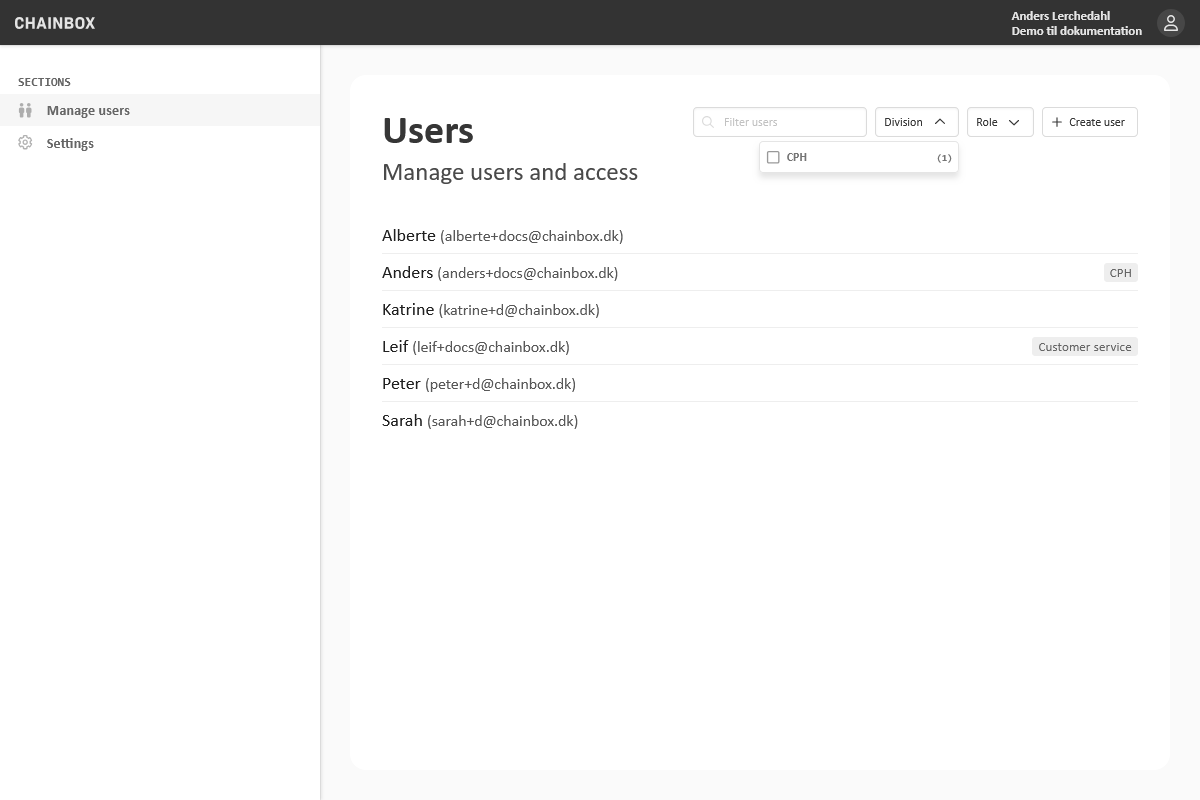
The first section you land on is the user list displaying any active users alongside their license type, division and/or roles.
Click a user name to access User details.
Creating new users
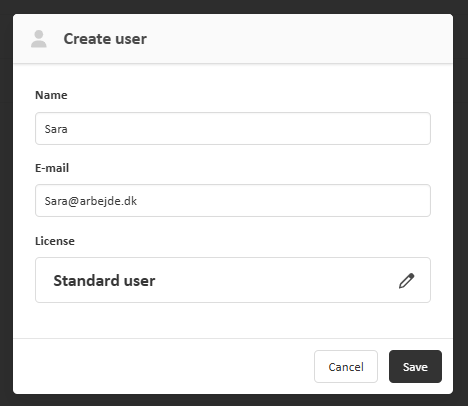
New users can be created using the "Create user" button in the header of the user section.
This will open a modal window prompting for the user name and e-mail. Each user must be given a license.
Standard user license
A standard user is not limited in apps available
Limited user license
If the user should only have access to part of the available apps, choose Limited user that matches the access:
- Content editor: Access available for PIM and Umbraco
- Customer service agent: Access available for Webshop Management and Websshop Salesperson
- Webshop salesperson: Access available for Webshop Salesperson
Choosing "Save" will create the new user and open the user details panel.
Warning
Remember to activate specific apps for the user (see Access below). The choice of license itself does not activate apps.
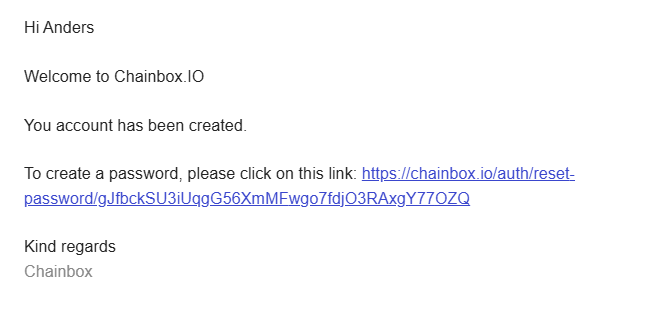
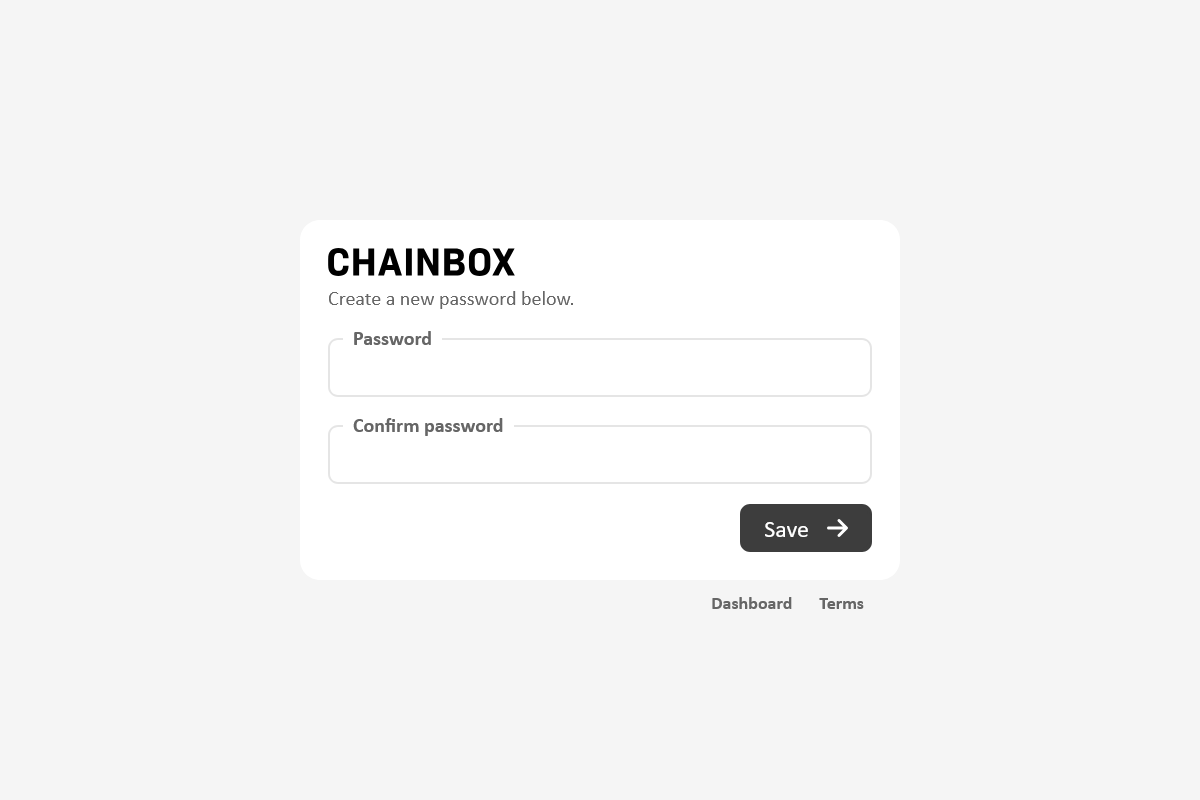
This will issue an e-mail to the user with a welcome message and a link to a page where they can select a password.
User details
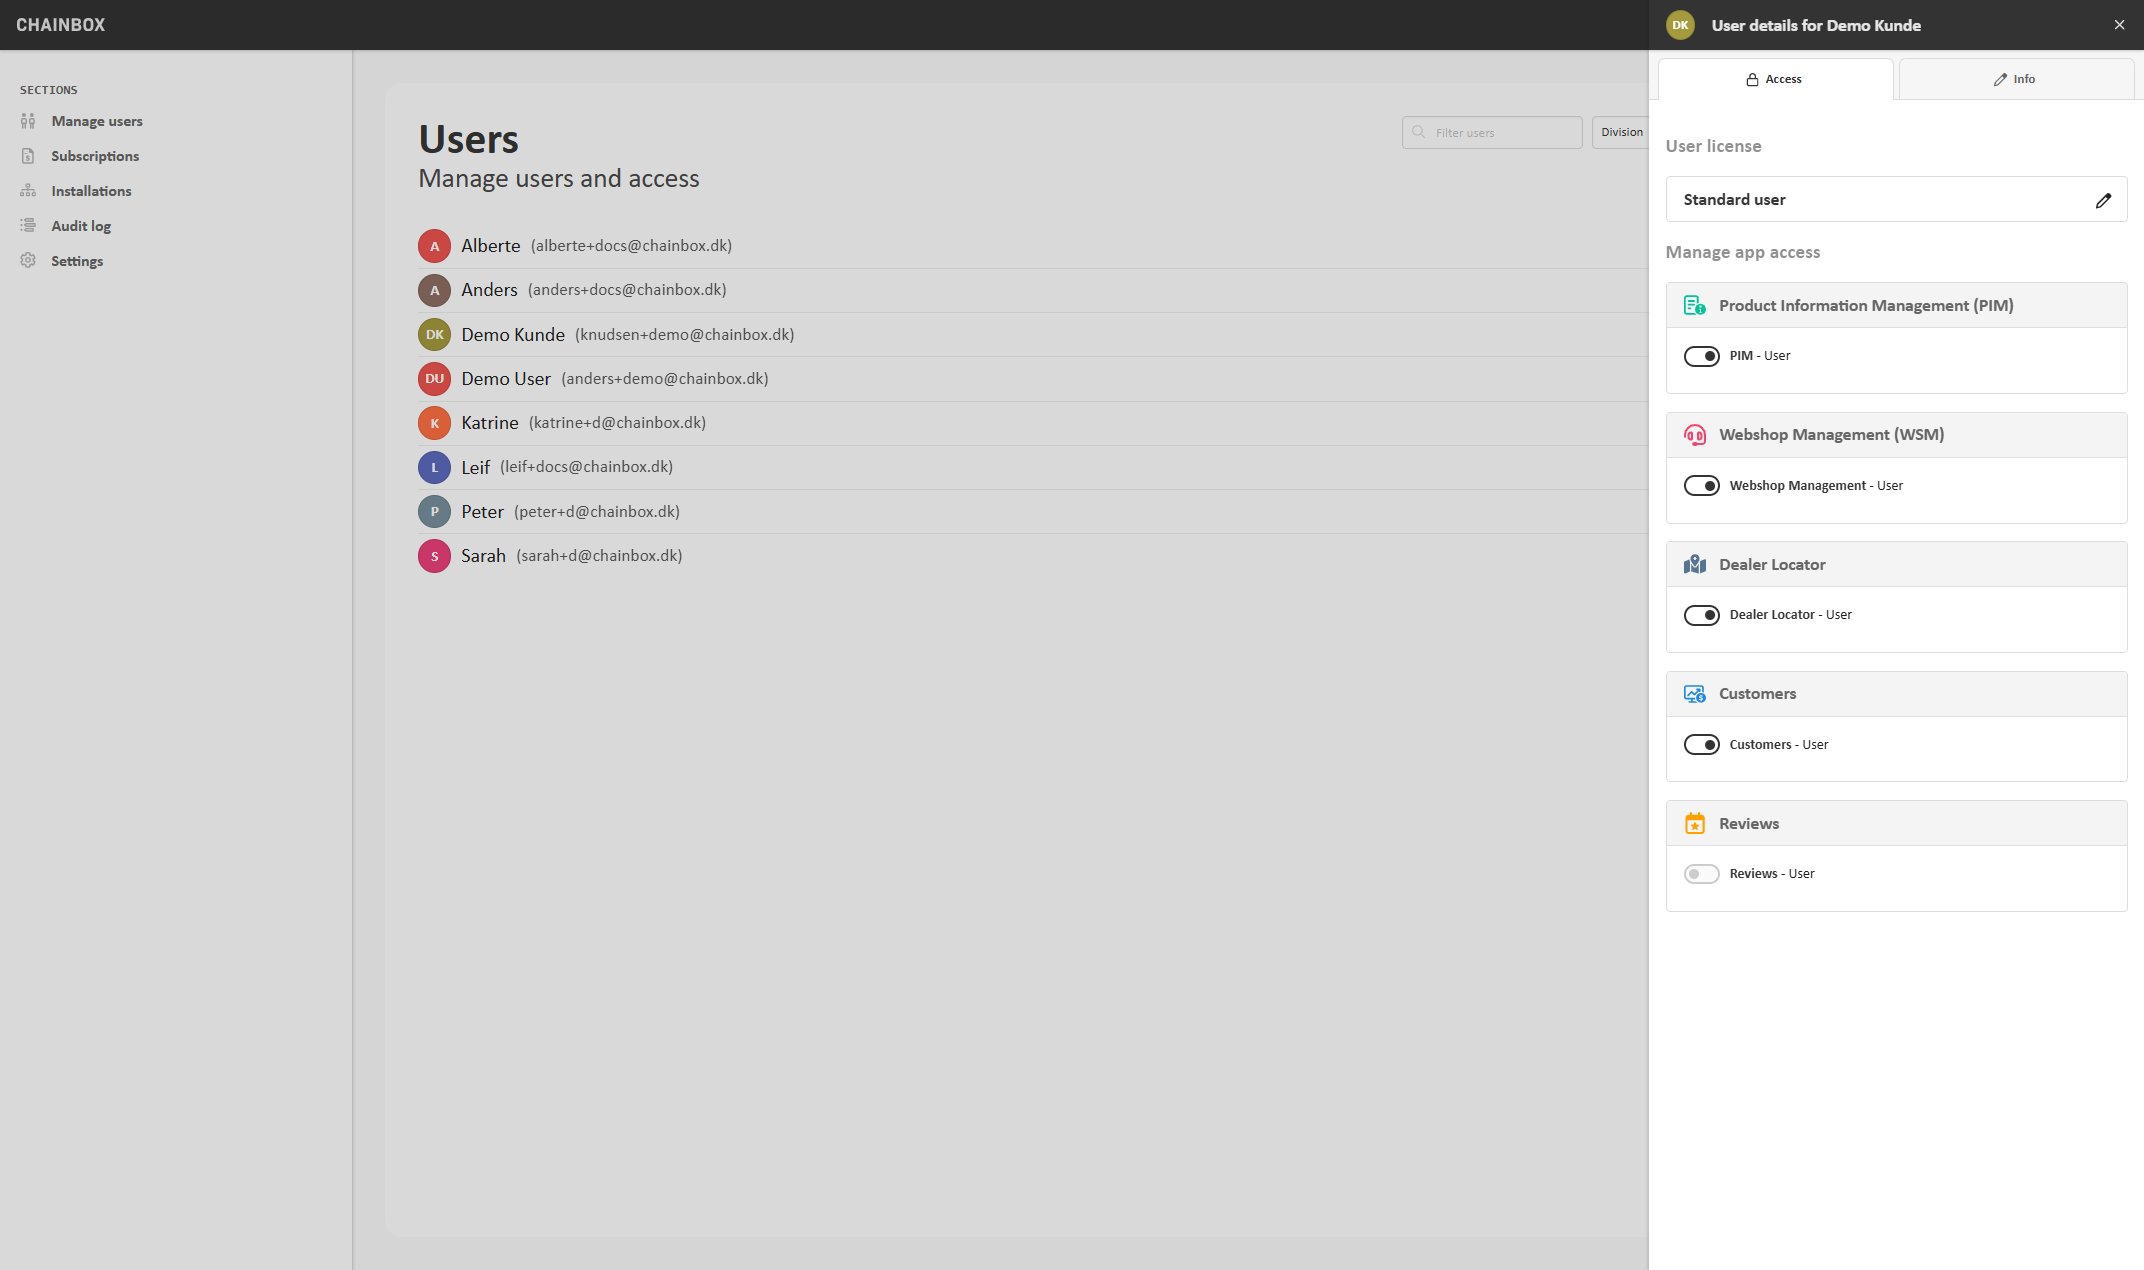
The user details panel contains two tabbed sections: "Access" and "Info".
Access
The access section allows tenant administrator to choose which licens and applications a user can access.
All users must have an active license.
After adding a license, application access is controlled by toggling the on/off switch for each application available for the chosen license. User access is granted/revoked immediately.
User info
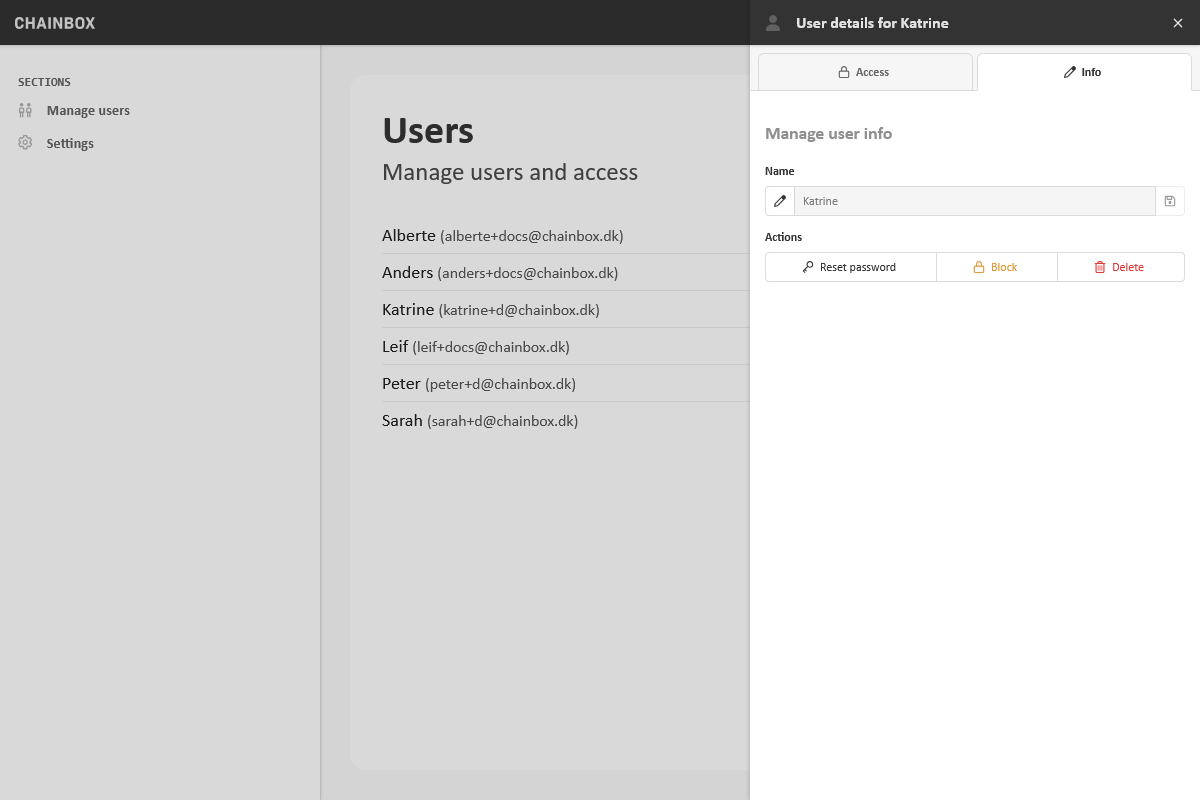
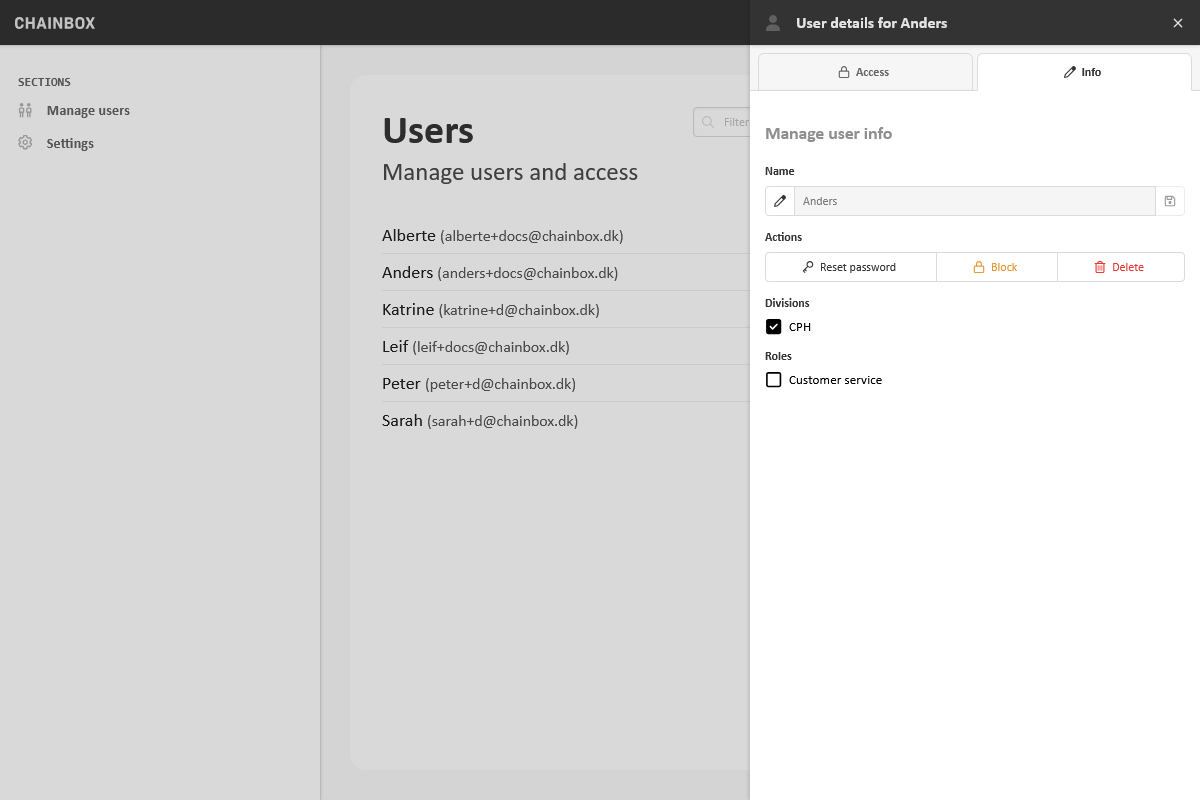
The info section has options for changing the user name and managing which divisions and roles the user is assigned (see below for more on division and roles). Furthermore this is where users can be blocked, deleted and issued a password reset.
Blocking users
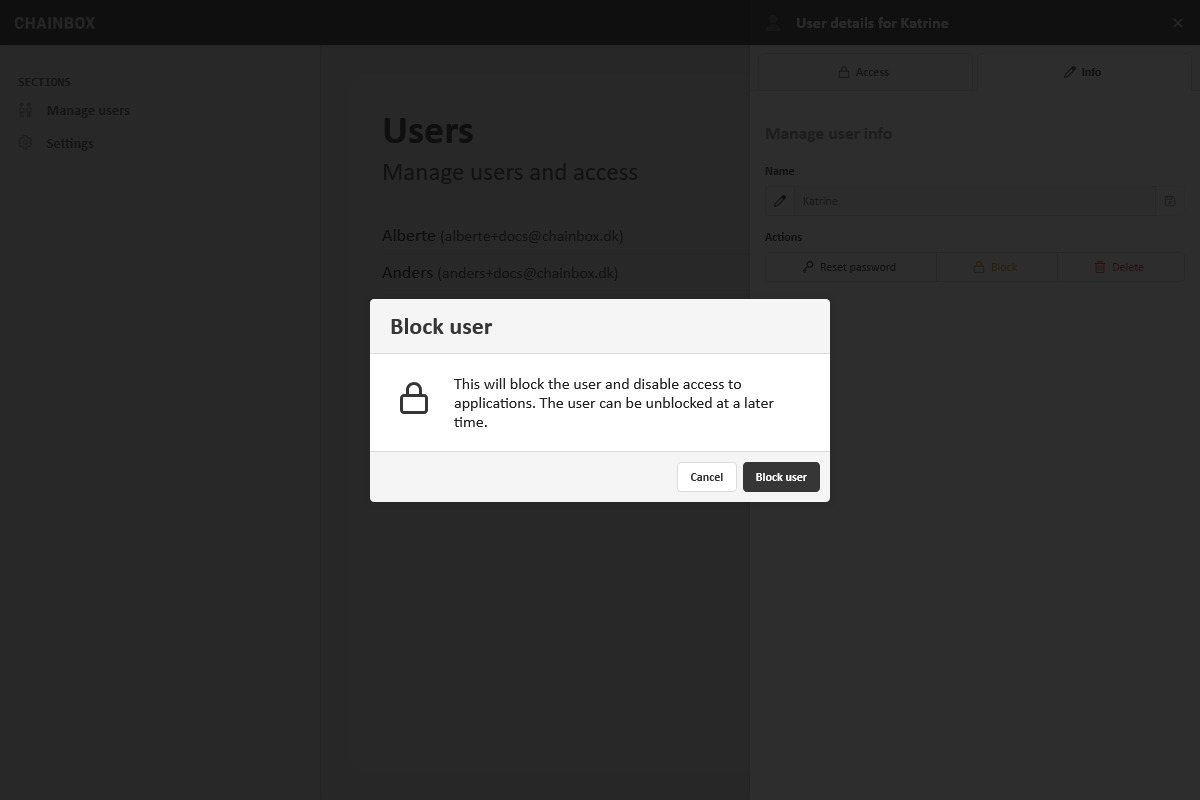
Users can be blocked, temporarily taking away their access to any applications. Users can be unblocked at a later stage.
Deleting users
Deleting a user removes it completely and any access is revoked. This operation cannot be undone.
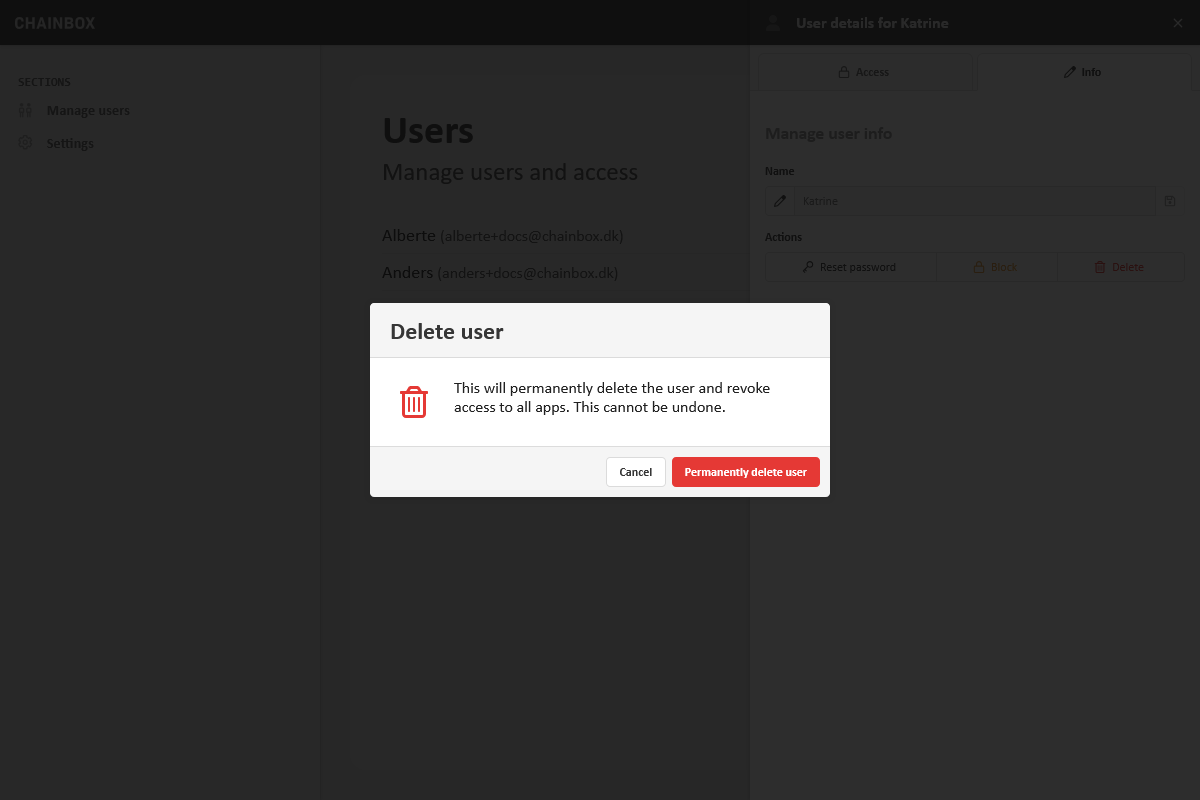
Please note! If the deleted user had a sync'ed Member created, the Member itself must be deleted manually in Webshop Management - Members.
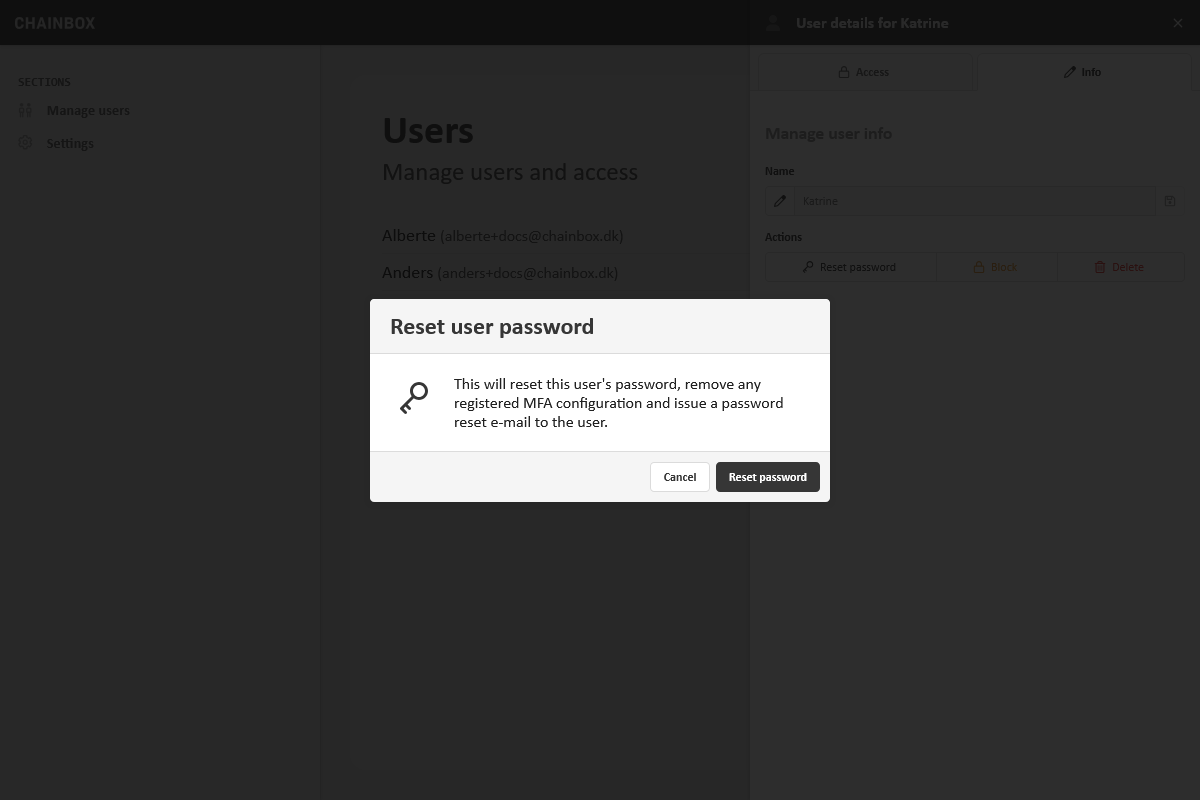
Password reset
Issuing a password reset will revoke any active sessions, remove the user password, remove any registered multifactor authentication on the user and send a user an e-mail with instructions on creating a new password.
Sync to Members (Webshop Management)
An admin user with acess to the Webshop Salesperson app, can access the webshop and view og purchase on behalf of a customer.
In some cases, the business requires extra settings, or limitations to a salespersons access to the webshop. This is done through Member field settings on the Member in Webshop Management. To have that option please do the following:
Go to Webshop Management - Settings and SSO Users. Click "Sync users"
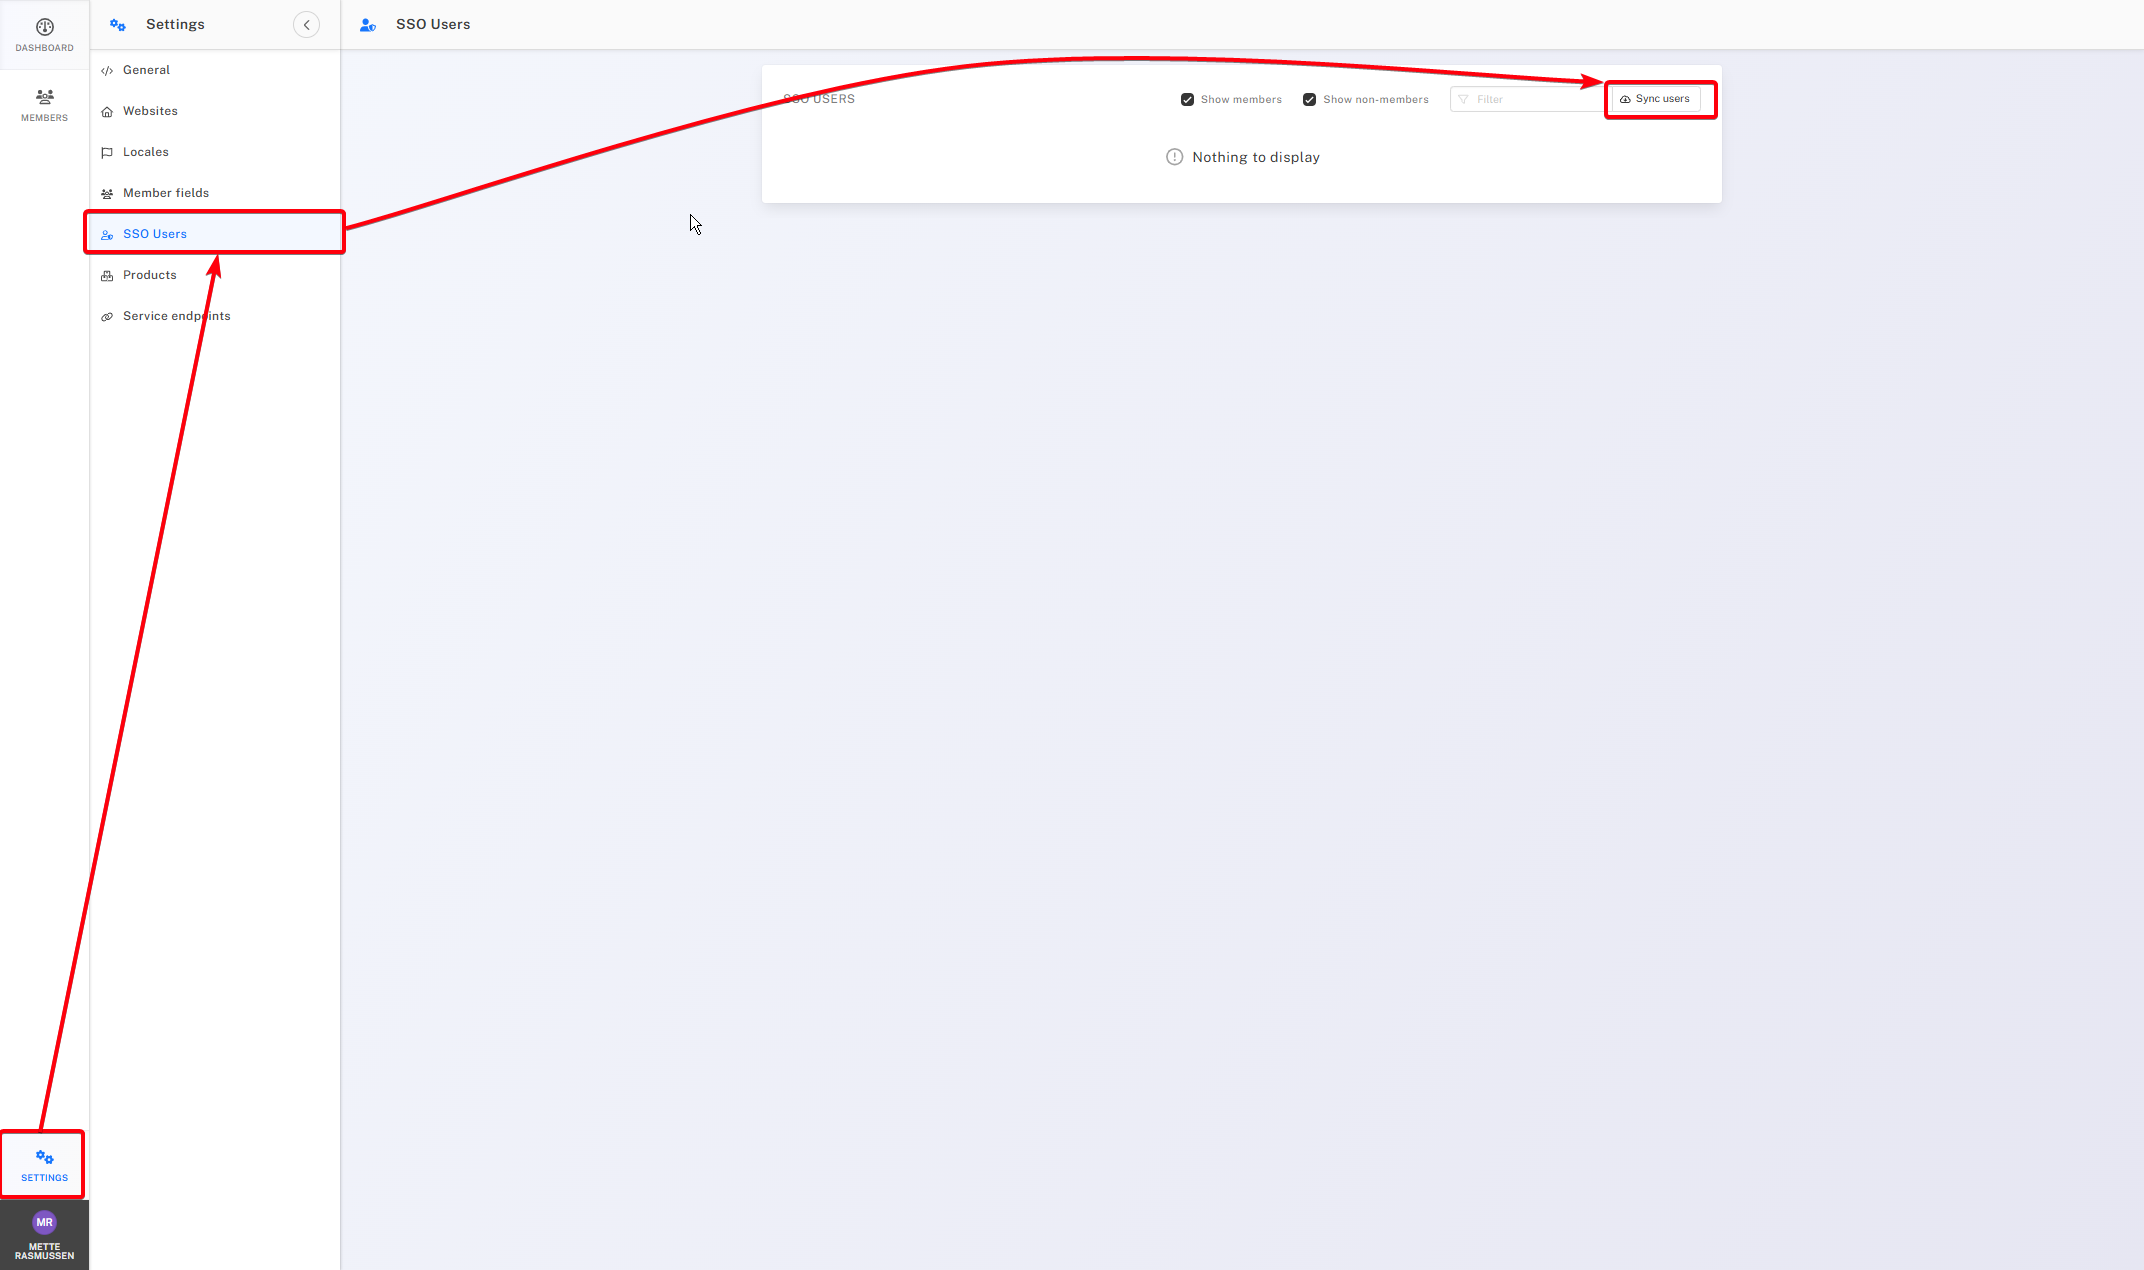
This action will import any admin user with access webshop salesperson.
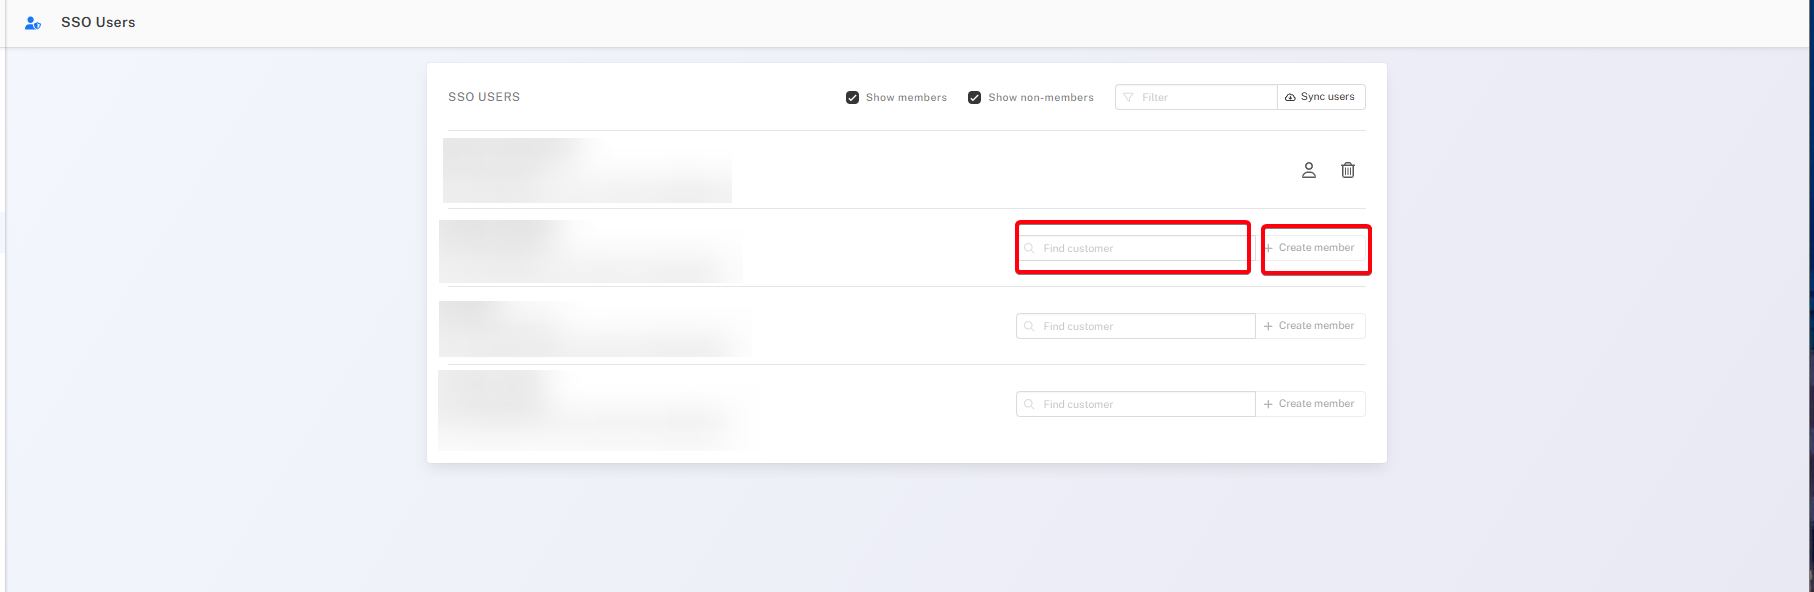
Next, for each imported user, choose a customer-account the member should relate to, and click "Create Member". Now you can search the user up in Members and add any Memberfields settings that might be required.
Settings
The settings section contains your general information on record, options for managing user roles and divisions, as well as the option to enfore multifactor authentication for your users.
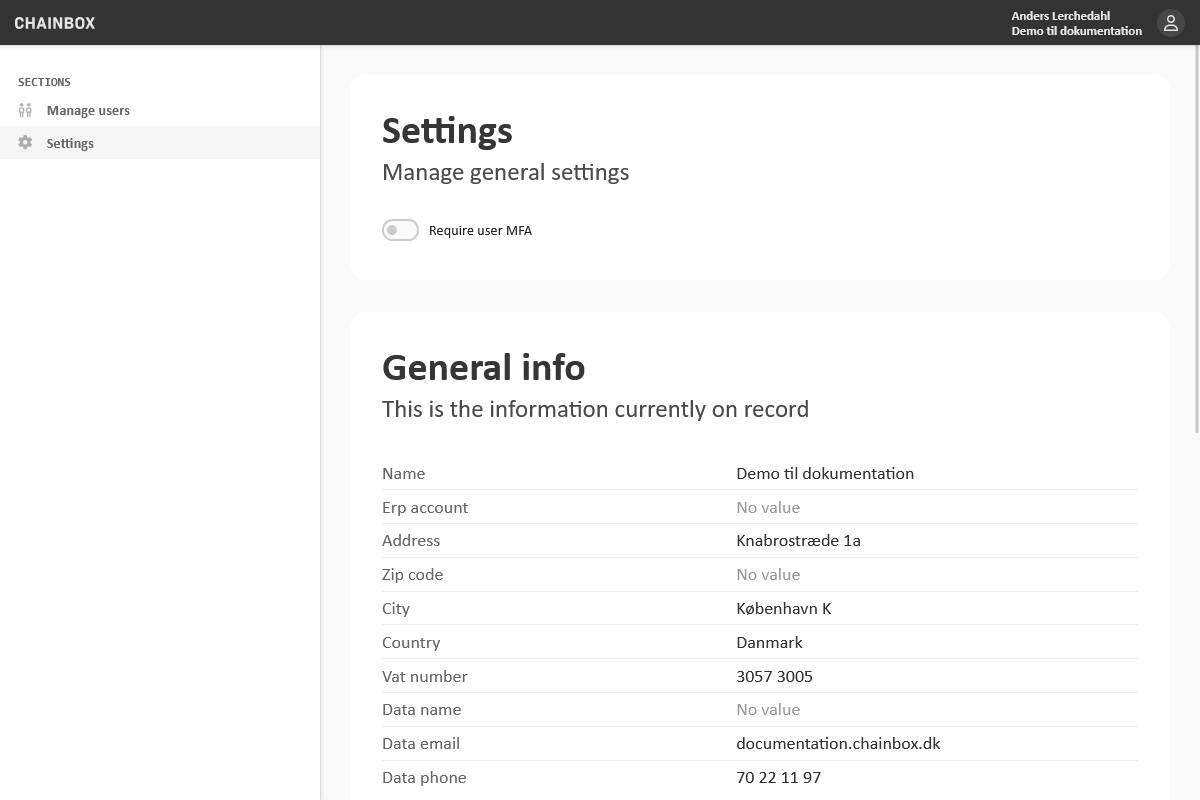
Require user MFA
Enabling this option will require your users to enable multi factor authentication for their Chainbox login. They will be prompted to do so when accessing their dashboard or any of their apps.
Divisions
It can sometimes be helpful to categorise staff into groups based on some property of the organisation. Divisions are just that. A division can describe a physical location, brand, branch or franchise. They are essentially just tags on the users to make it easier to navigate the user list.
Existing divisions are displayed in the list and a new division can be created using the button labeled "Create division". This will launch a modal window prompting for a label and an optional description.
Selecting "Create" will create the division after which it is displayed in the list.
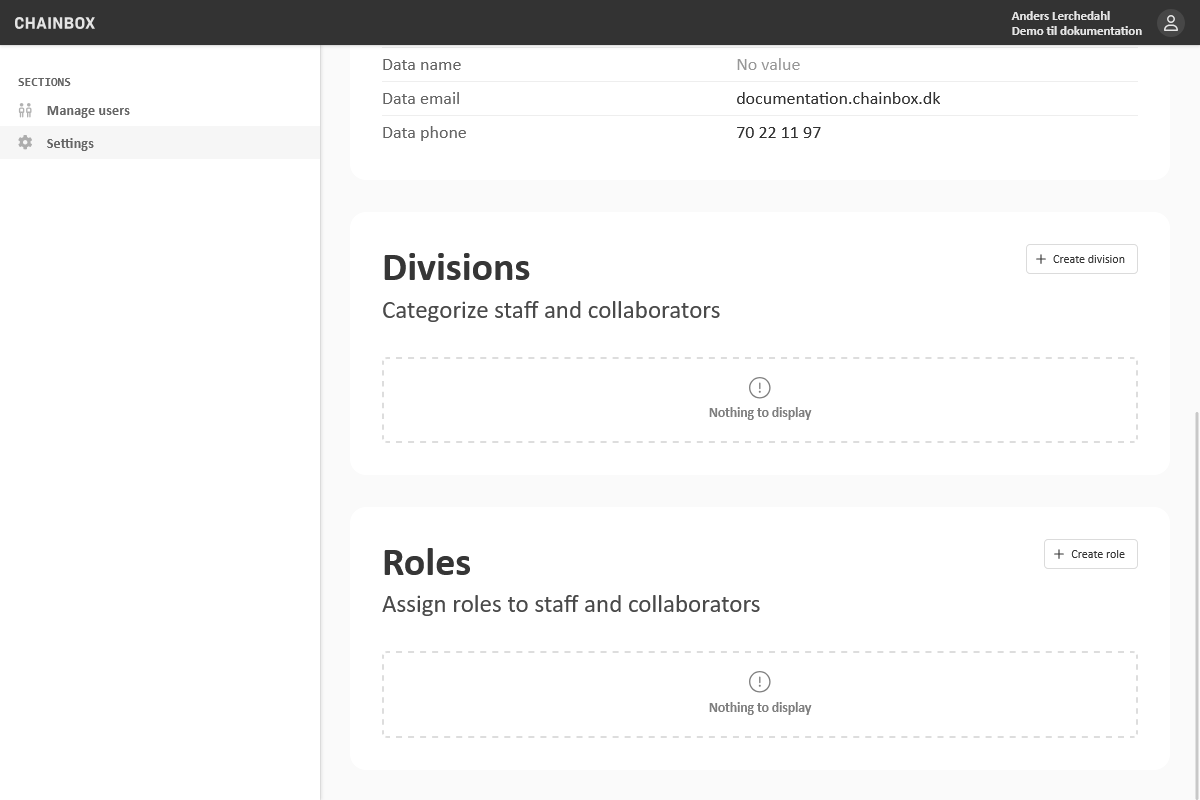
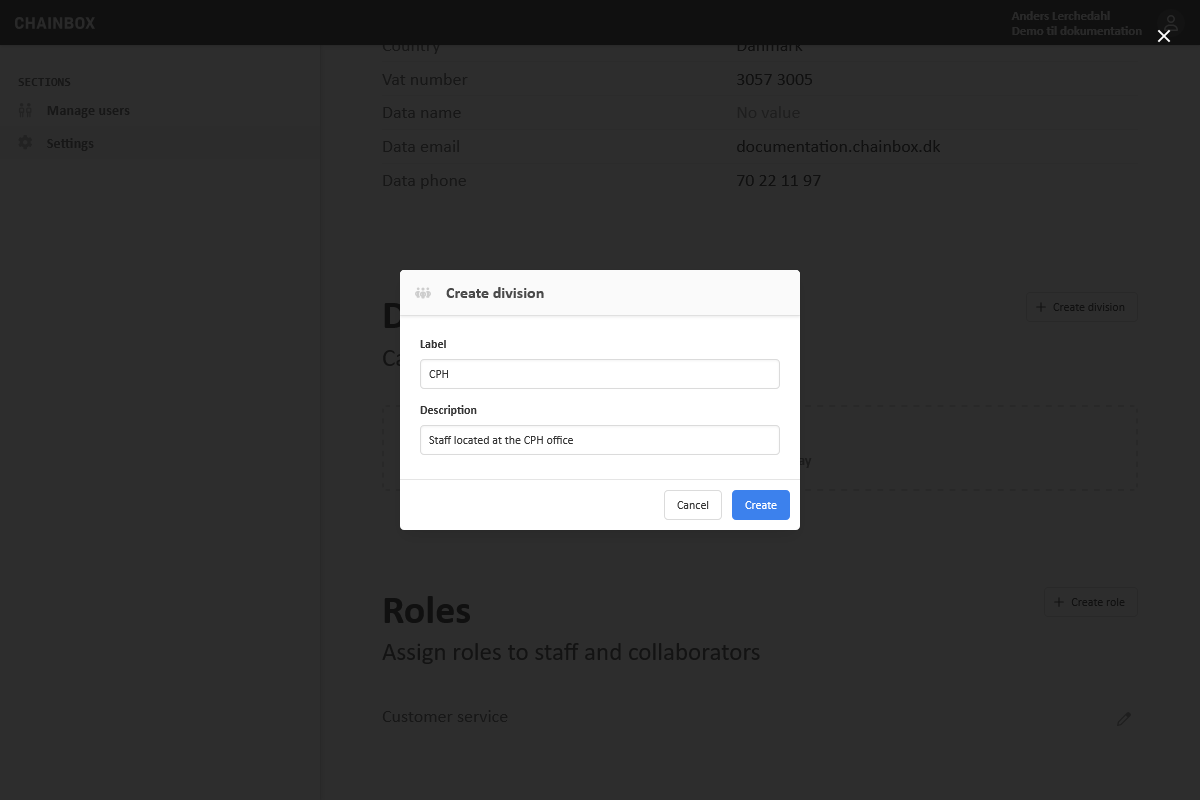
Editing existing divisions can be done via the pen-icon next to each division in the list. This launches a modal with options to change the label and description.
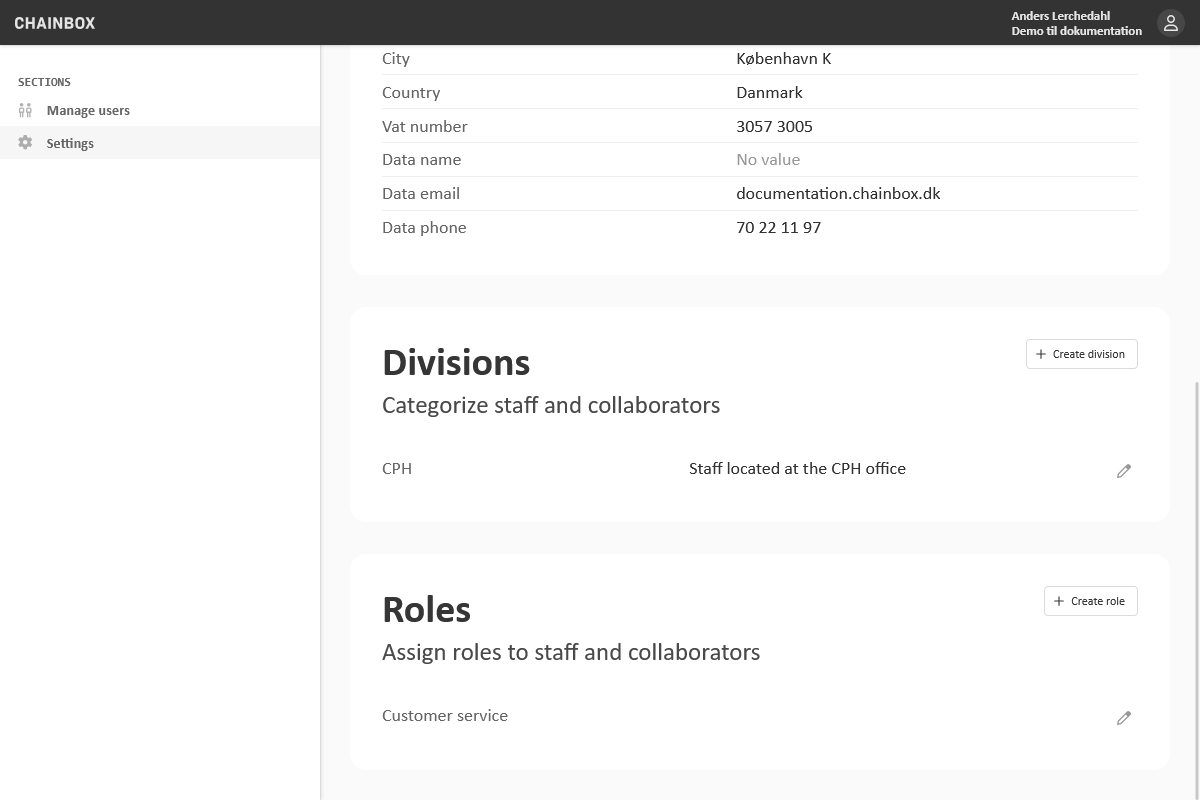
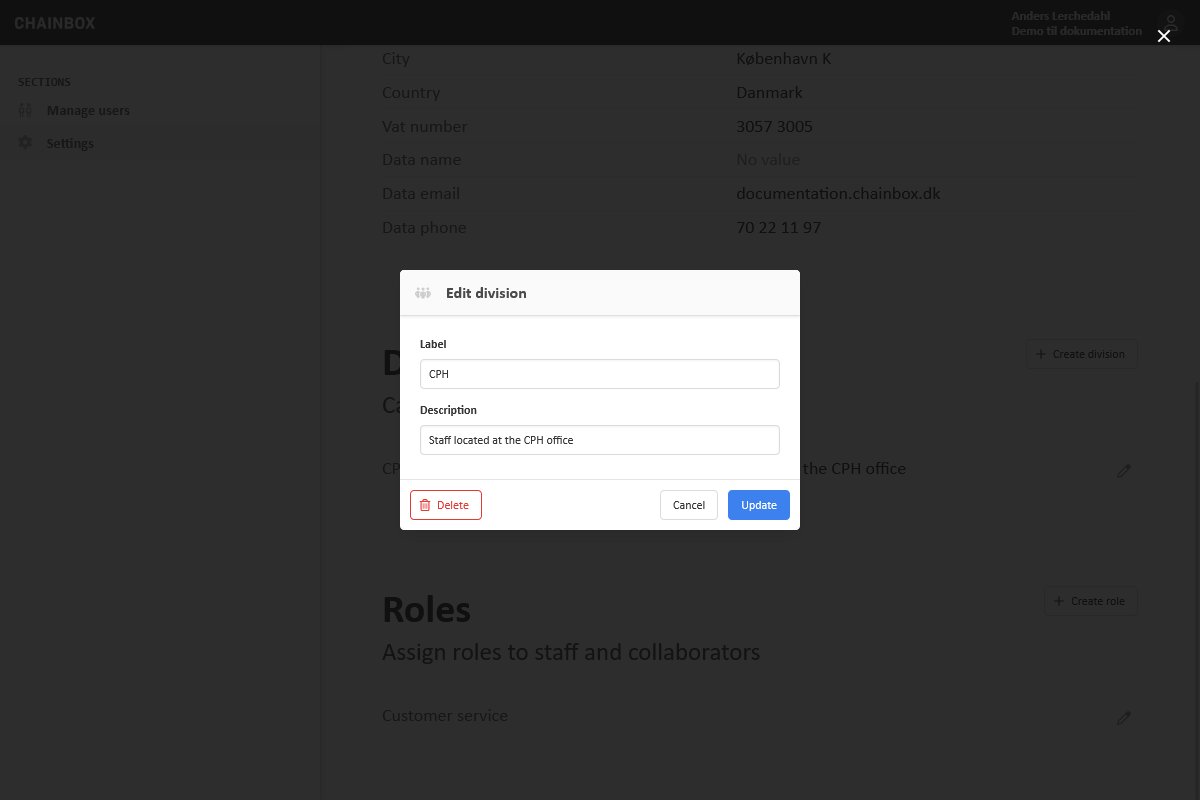
Assigning users to divisions is done through the user list, activating the user details panel for a specific user. From here select the "Info" tab and select the checkbox next to the division.
Roles
User roles, like divisions, categorise the users with tags. These are different from divisions in that they can be used for fine-grained access management in your applications, i.e. the Customer application. A user role is typically a job title or a label describing a function but can be any string of text.
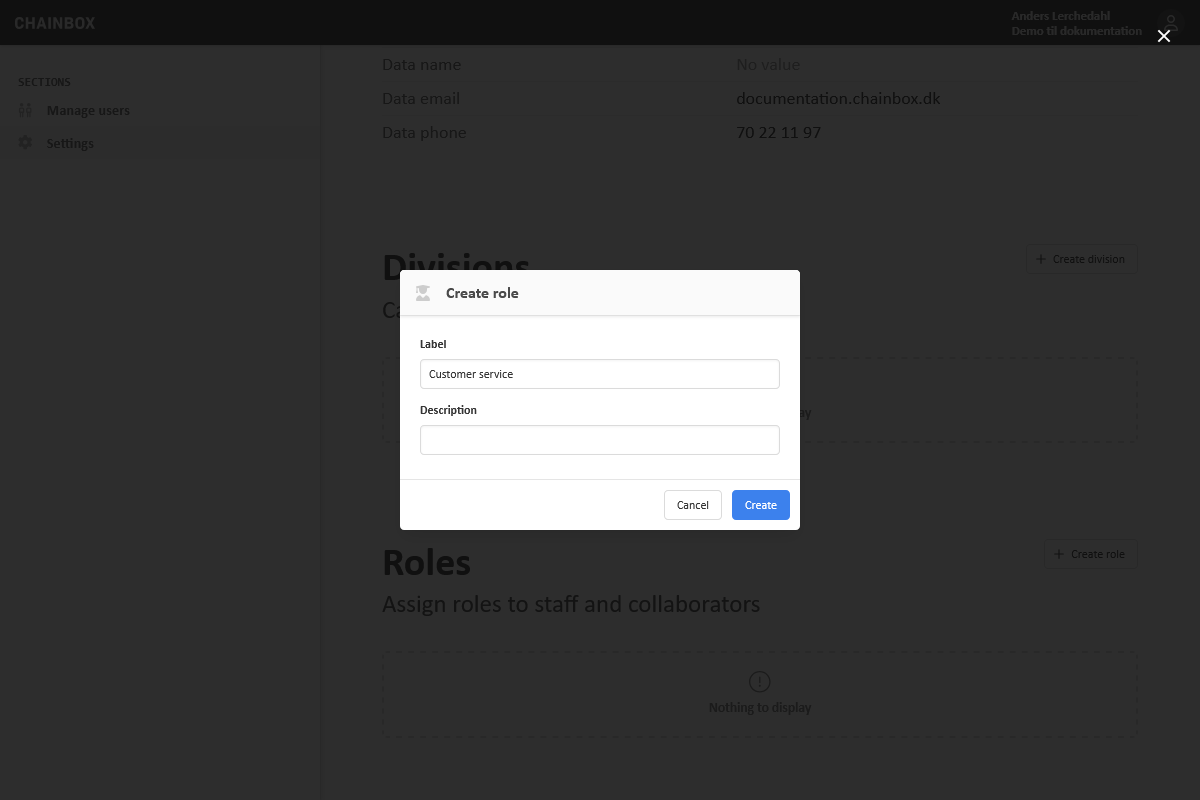
Existing roles are displayed in the list and a new user role can be created using the button labeled "Create role". This will launch a modal window prompting for a label and an optional description.
Selecting "Create" will create the role after which it is displayed in the list.
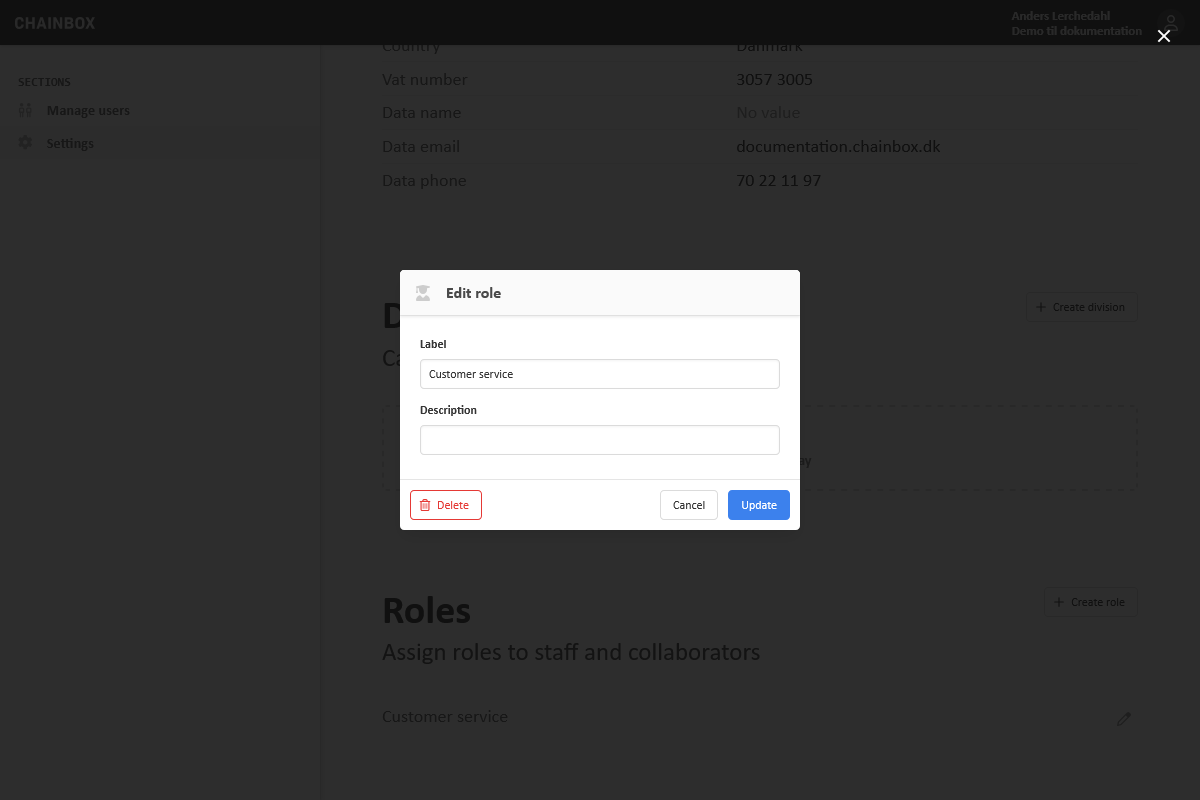
Editing existing roles can be done via the pen-icon next to each role in the list. This launches a modal with options to change the label and description.
Assigning users to roles is done through the user list, activating the user details panel for ea specific user. From here select the "Info" tab and select the checkbox next to the role.
Filters
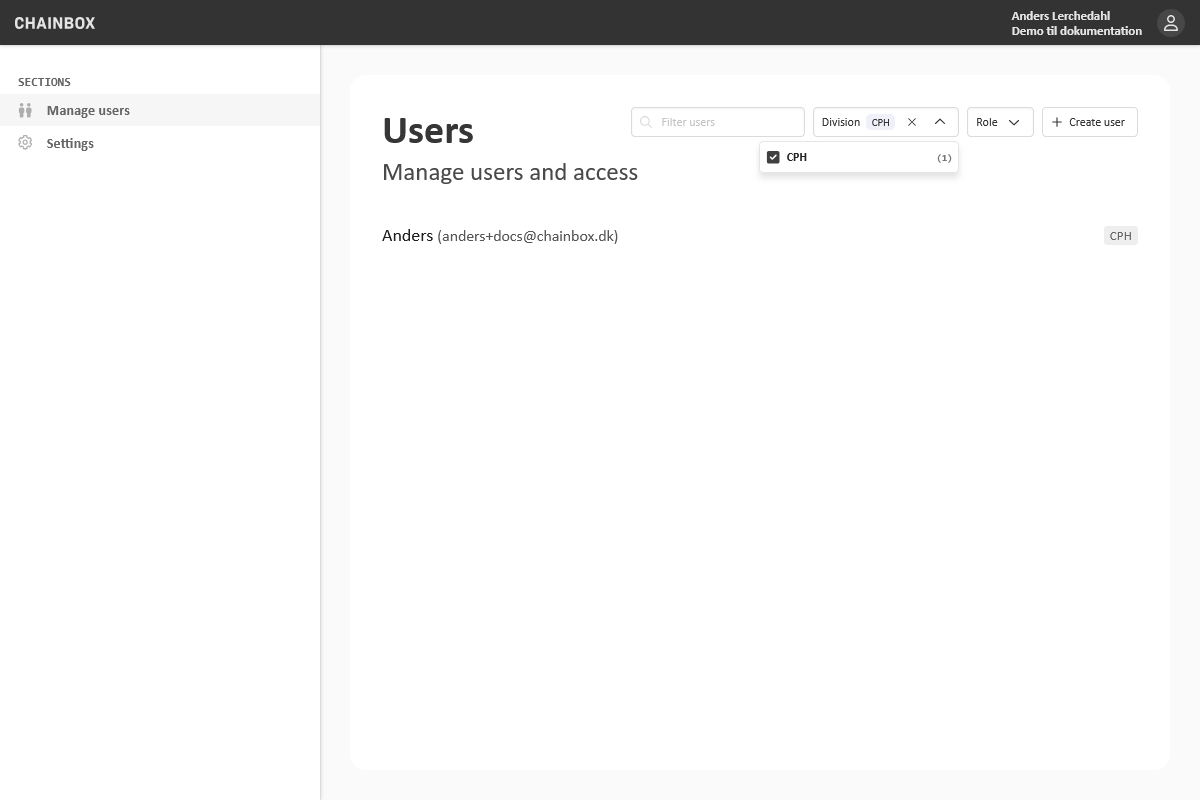
When users are assigned to divisions or roles the user list can be filtered by these along the always active text search filter.
Assigned divisions and roles are also displayed next to each user in the list.